Add New Access Group
From Access> Access group menu, click + Icon
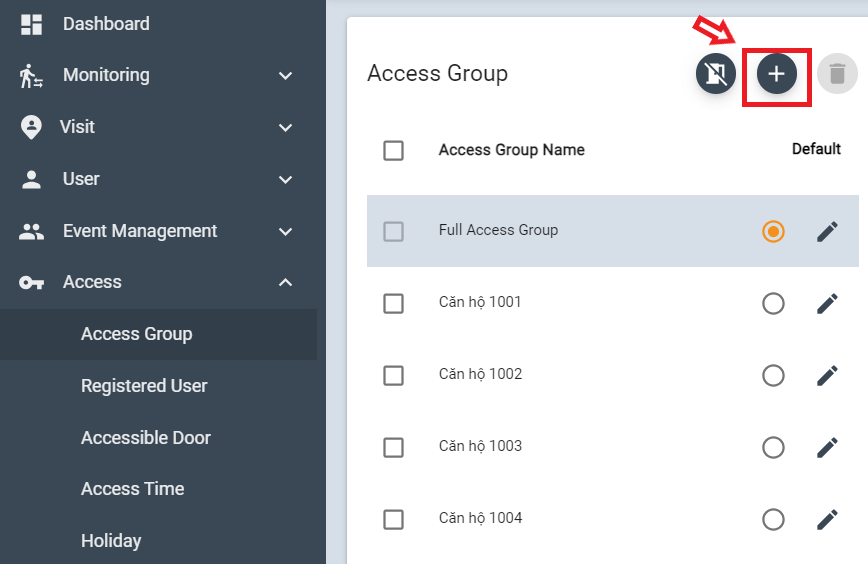
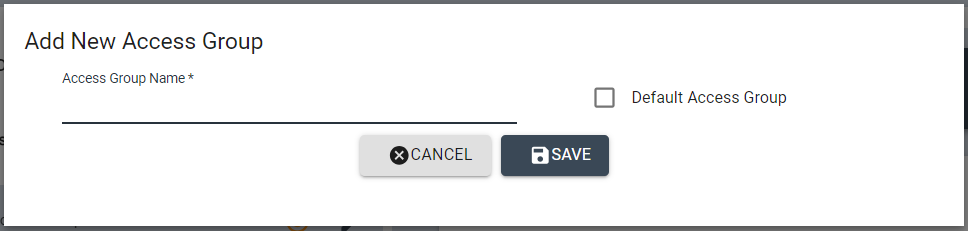
Input Name of new access group then click [SAVE]
Then this new group will be shown on Access group list.
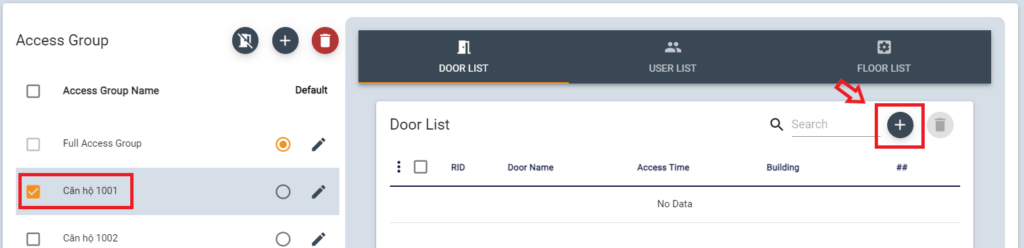
To assign doors, select the group and click + Icon
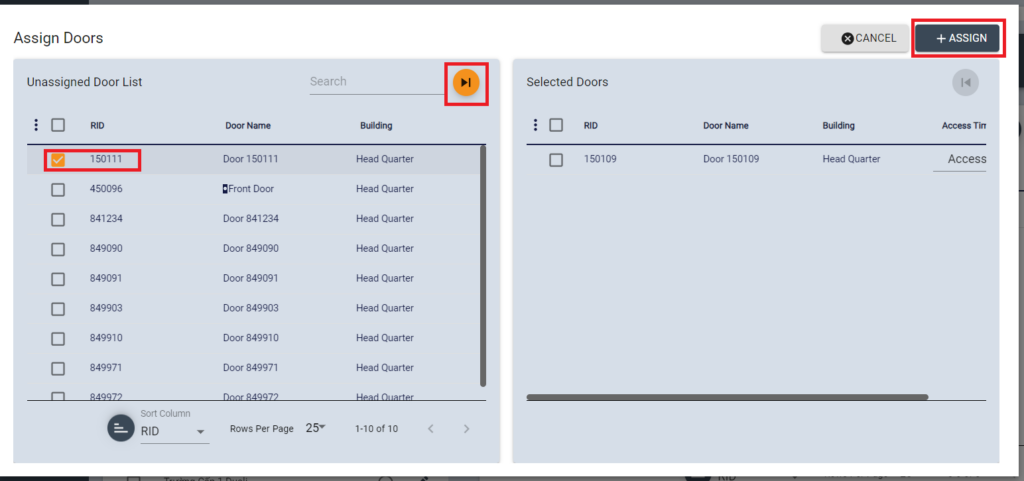
Select Doors from the list, then move to the right column. Click [ASSIGN] button
To assign User for Access group, select the group and click + Icon
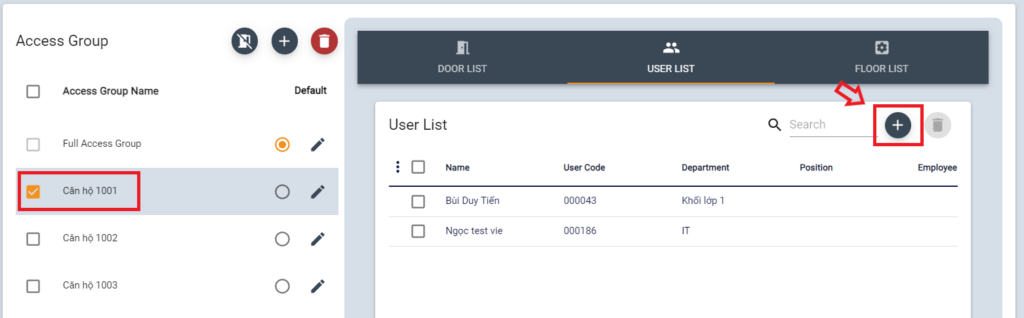
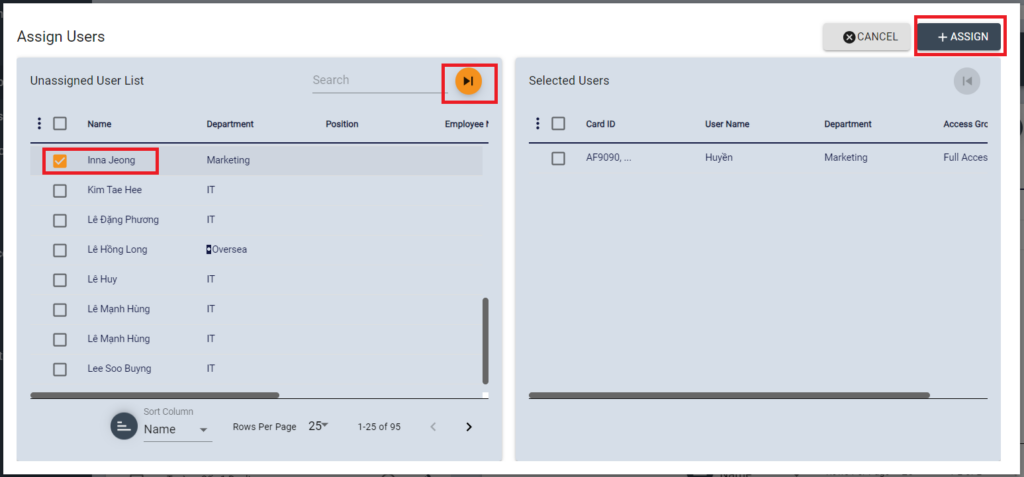
Select User (Users) to assign into this Access group, send to the right column then click [ASSIGN] button
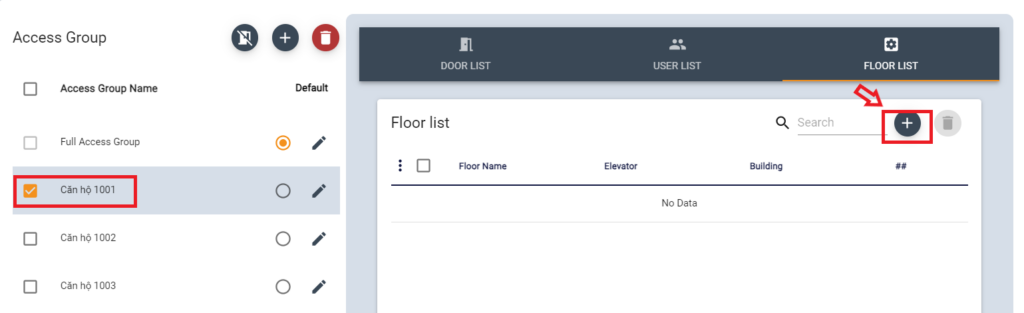
To assign Floor for Access group, select the group and click + Icon
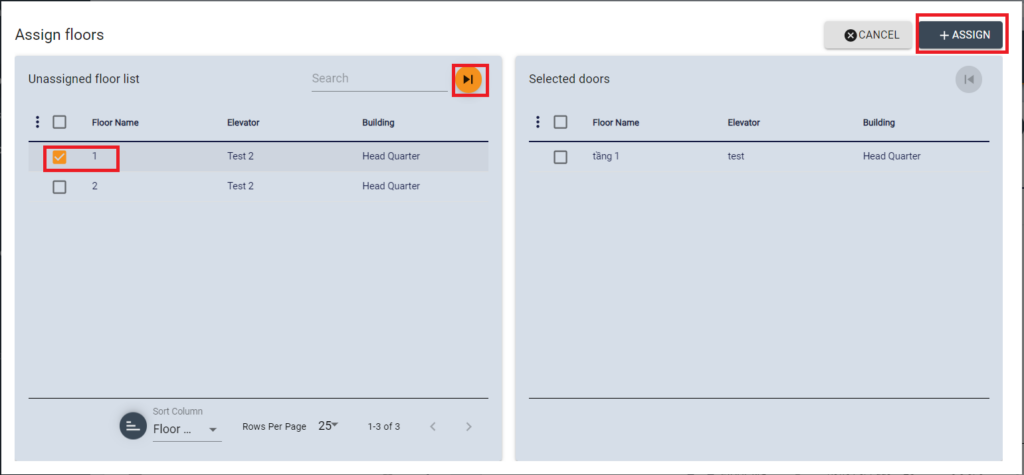
Select Floor to assign into this Access group, send to the right column then click [ASSIGN] button
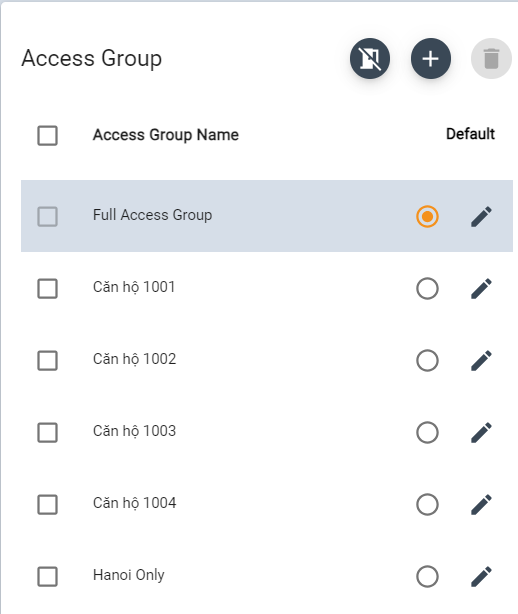
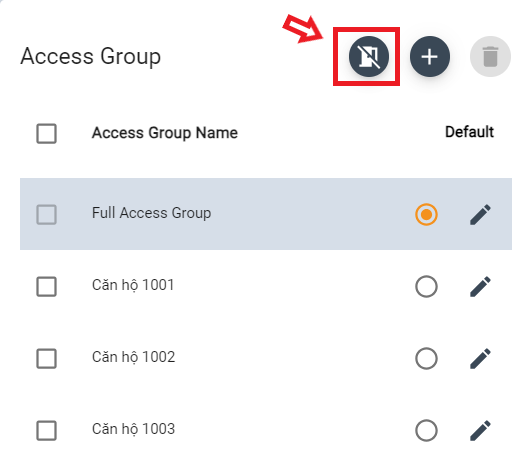
Set Access Group as Default
In the system, the full access group (enable to access all doors) is set as a default access group.
To change the default access group, select it from the access group list. This will be set as default in case doors are not selected while registering users.
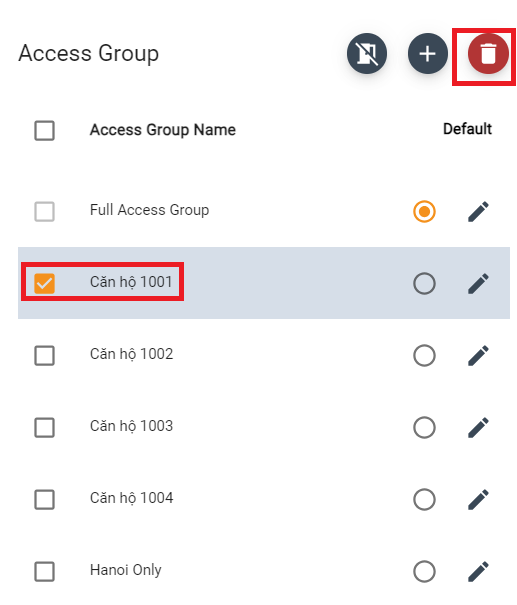
Delete Access Group
Select access group to delete from the list, then click Trash icon.
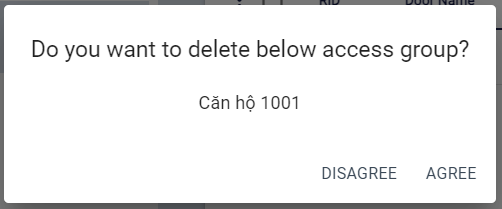
Click AGREE when re-check pops up.
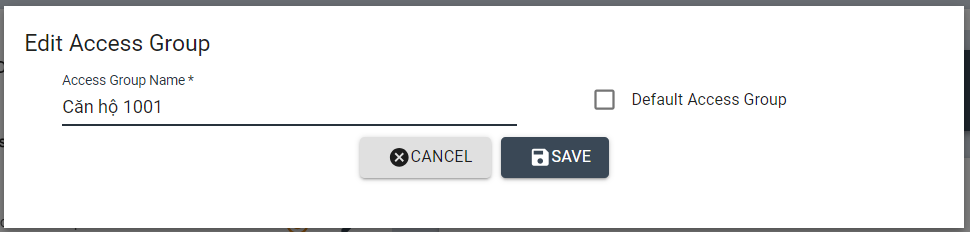
Edit Access Group
Select access group to edit, then click pencil icon
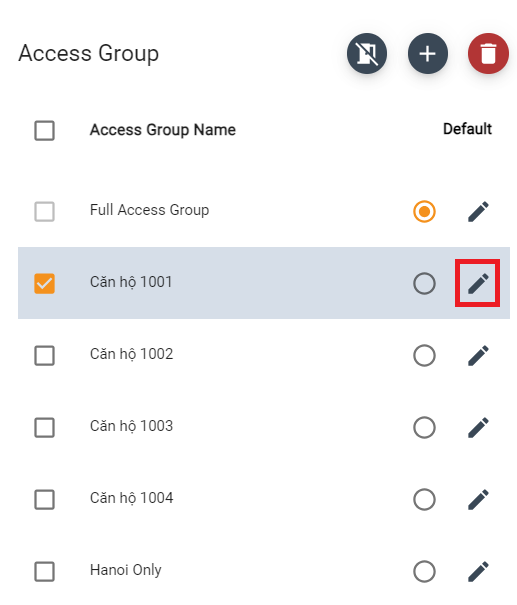
Edit information then click [SAVE] to save changes
Select readers are removed from all Access groups
Click on the remove icon
Select the devices to remove from the Access group then click [SAVE] button to save
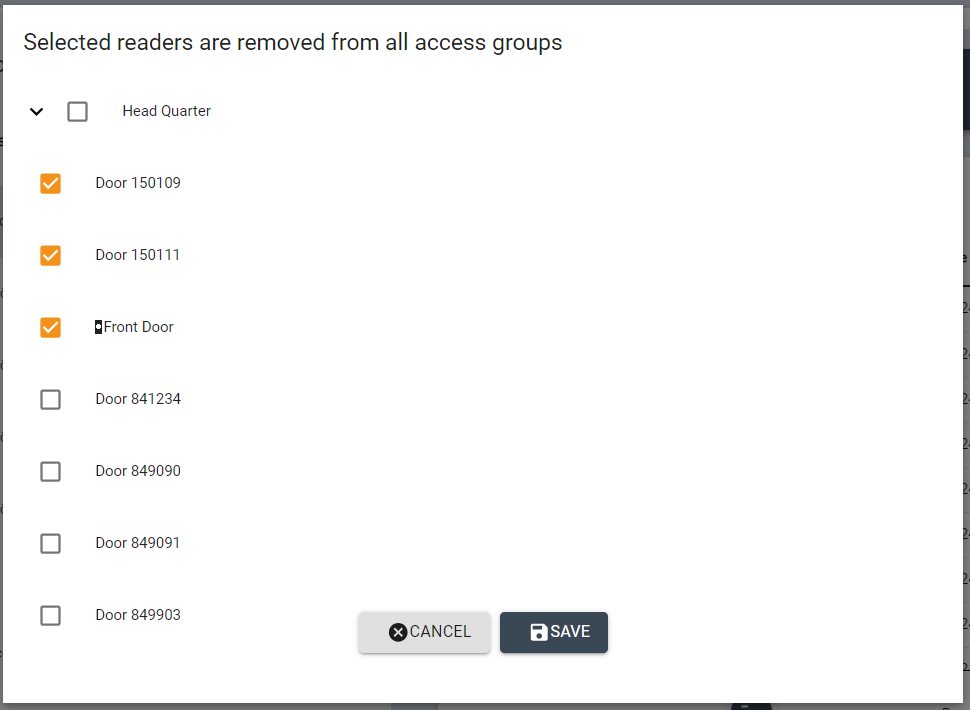
.